Lens selection and the favorite focal lengths
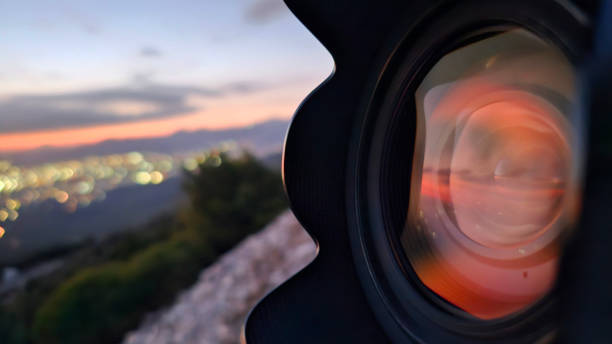
First, kill the idea that one lens does it all. Astrophotography is a game of trade-offs. Wide-angle lenses give you sweeping landscapes with the entire arch of the Milky Way, while telephoto lenses bring in the moon’s craters or distant nebula detail. You need to know which focal lengths serve your specific goal for a given night. If you’re shooting a meteor shower, you want wide. If you’re chasing Jupiter’s bands, you want reach. No universal lens exists, and anyone telling you otherwise is trying to sell you something.
Let’s start with the workhorse of deep-sky and wide-field astrophotography: the 14mm to 24mm range. A fast prime lens, like a 14mm f/2.8 or a 20mm f/1.8, is the backbone of any space-focused kit. Why? Because at these focal lengths, you can keep the shutter open for 20 to 30 seconds without noticeable star trails, even on a fixed tripod. This lets you soak in enough light to reveal the faint structure of the Milky Way, the Andromeda Galaxy’s core, and even the Orion Nebula’s glow. These lenses are also forgiving with focusing—set it to infinity, lock it, and you’re shooting. For American guys who want results fast without a complex equatorial mount, this is your starting point. Grab a 20mm f/1.8, and you’ve already beaten 80% of the people out there with kit zooms.
Next, step up to the 35mm to 50mm range. This is the sweet spot for balance. A 35mm f/1.4 or a 50mm f/1.8 gives you a wider field than a telescope but far more detail than a 14mm. It’s your best friend for framing constellations, capturing the Pleiades, or getting a tighter Milky Way core shot without the distortion of ultra-wides. The catch is that you need a tracker. Without a star tracker, your exposure time drops to under 10 seconds before you see trails. But with a simple tracker like a Star Adventurer, a 50mm lens becomes a weapon for deep-sky detail. You can stack multiple shots and reveal dust lanes that look like smoke in the photos. If you’re serious about graduating from “that’s a cool star photo” to “did you shoot that with a telescope?” this is where you invest.
Now, what about the long stuff? Lenses at 100mm, 200mm, or even 400mm are specialty tools for planetary work, lunar close-ups, and tiny deep-sky objects like the Dumbbell Nebula. These are not beginner-friendly. At 200mm, the sky becomes a different beast. Any slight vibration, any wind, any imprecise focus—it ruins the shot. You need a solid mount, a good tracking system, and patience. But the payoff is real. A sharp 135mm f/2 lens on a crop sensor can pull in the Veil Nebula’s filaments with stunning clarity. A 300mm f/4 can frame the moon in perfect disc shots with craters sharp enough to count. This is the territory for men who already own a wide-angle rig and want to push further. Don’t buy a cheap 500mm zoom. Buy a single, high-quality prime or a proven telephoto zoom like a 70-200mm f/2.8 and use it with discipline.
Here is the no-bullshit truth about focal length choice: the lens you use most will be the one that fits your lifestyle and sky conditions. If you live in a city with terrible light pollution but drive to dark sites once a month, a 14mm f/2.8 is your best bet because it works without a tracker and captures the most sky in the brief windows you have. If you have a backyard with decent darkness and a tracker, a 35mm or 50mm prime will produce images you can actually print. If you have an observatory or a serious mount, go long. But never ignore the lens aperture. Focal length matters, but f/stop matters more. A slow lens at any focal length will punish you with noise and missed detail. Always choose speed over reach.
Finally, a word on kit balance. Do not buy three lenses at once. Start with a single fast wide-angle prime, master it, and then add a mid-range lens. Your space photography kit should grow as your understanding grows, not as your credit card shrinks. The best photographers I know shoot with two lenses: a 14mm for landscapes and Milky Way arches, and a 135mm for narrow-field deep-sky targets. That’s it. That’s the secret. Focal lengths are tools, not trophies.
So as you build your space photography kit on SpacePilgrim.com, remember that the right glass is the glass you can use effectively under real dark skies. Start wide, go fast, and then extend your reach when you have the mount and the skill. The cosmos isn’t going anywhere. But your window of clear, moonless nights is limited. Make every shot count.
Space News
Latest Articles
New rockets, upcoming launches, and the stories shaping humanity's push off this planet. No astronomy degree required.